Currency


- Choosing a selection results in a full page refresh.
⏱️ Oferta por tiempo limitado en Estados Unidos: ENVÍO GRATIS en todos los pedidos superiores a $19,99 🌎 Envío a todo el mundo
⏱️ Oferta por tiempo limitado en Estados Unidos: ENVÍO GRATIS en todos los pedidos superiores a $19,99 🌎 Envío a todo el mundo
⏱️ Oferta por tiempo limitado en Estados Unidos: ENVÍO GRATIS en todos los pedidos superiores a $19,99 🌎 Envío a todo el mundo
⏱️ Oferta por tiempo limitado en Estados Unidos: ENVÍO GRATIS en todos los pedidos superiores a $19,99 🌎 Envío a todo el mundo
⏱️ Oferta por tiempo limitado en Estados Unidos: ENVÍO GRATIS en todos los pedidos superiores a $19,99 🌎 Envío a todo el mundo
⏱️ Oferta por tiempo limitado en Estados Unidos: ENVÍO GRATIS en todos los pedidos superiores a $19,99 🌎 Envío a todo el mundo
⏱️ Oferta por tiempo limitado en Estados Unidos: ENVÍO GRATIS en todos los pedidos superiores a $19,99 🌎 Envío a todo el mundo
⏱️ Oferta por tiempo limitado en Estados Unidos: ENVÍO GRATIS en todos los pedidos superiores a $19,99 🌎 Envío a todo el mundo
⏱️ Oferta por tiempo limitado en Estados Unidos: ENVÍO GRATIS en todos los pedidos superiores a $19,99 🌎 Envío a todo el mundo
⏱️ Oferta por tiempo limitado en Estados Unidos: ENVÍO GRATIS en todos los pedidos superiores a $19,99 🌎 Envío a todo el mundo
⏱️ Oferta por tiempo limitado en Estados Unidos: ENVÍO GRATIS en todos los pedidos superiores a $19,99 🌎 Envío a todo el mundo
⏱️ Oferta por tiempo limitado en Estados Unidos: ENVÍO GRATIS en todos los pedidos superiores a $19,99 🌎 Envío a todo el mundo
💖 10% de DESCUENTO en tu primer pedido | Usa el código: HELLOFOWENDIA
Envío estándar gratuito en pedidos superiores a $19,99 (Estados Unidos)
Este término indica que, desde el momento en que un cliente realiza un pedido, el producto se fabricará y enviará en un plazo de 5 a 10 días hábiles. Los días hábiles suelen ser de lunes a viernes, sin incluir los días festivos ni los fines de semana. Nos comprometemos a procesar los pedidos dentro de este plazo para garantizar que los clientes reciban sus productos lo más rápido posible. Tenga en cuenta que el tiempo de envío exacto puede verse afectado por factores como el volumen del pedido, el tipo de producto y otras consideraciones. Recomendamos que los clientes tengan en cuenta este plazo al realizar sus pedidos. Si tiene alguna pregunta o necesita más información, no dude en ponerse en contacto con nuestro equipo de atención al cliente.
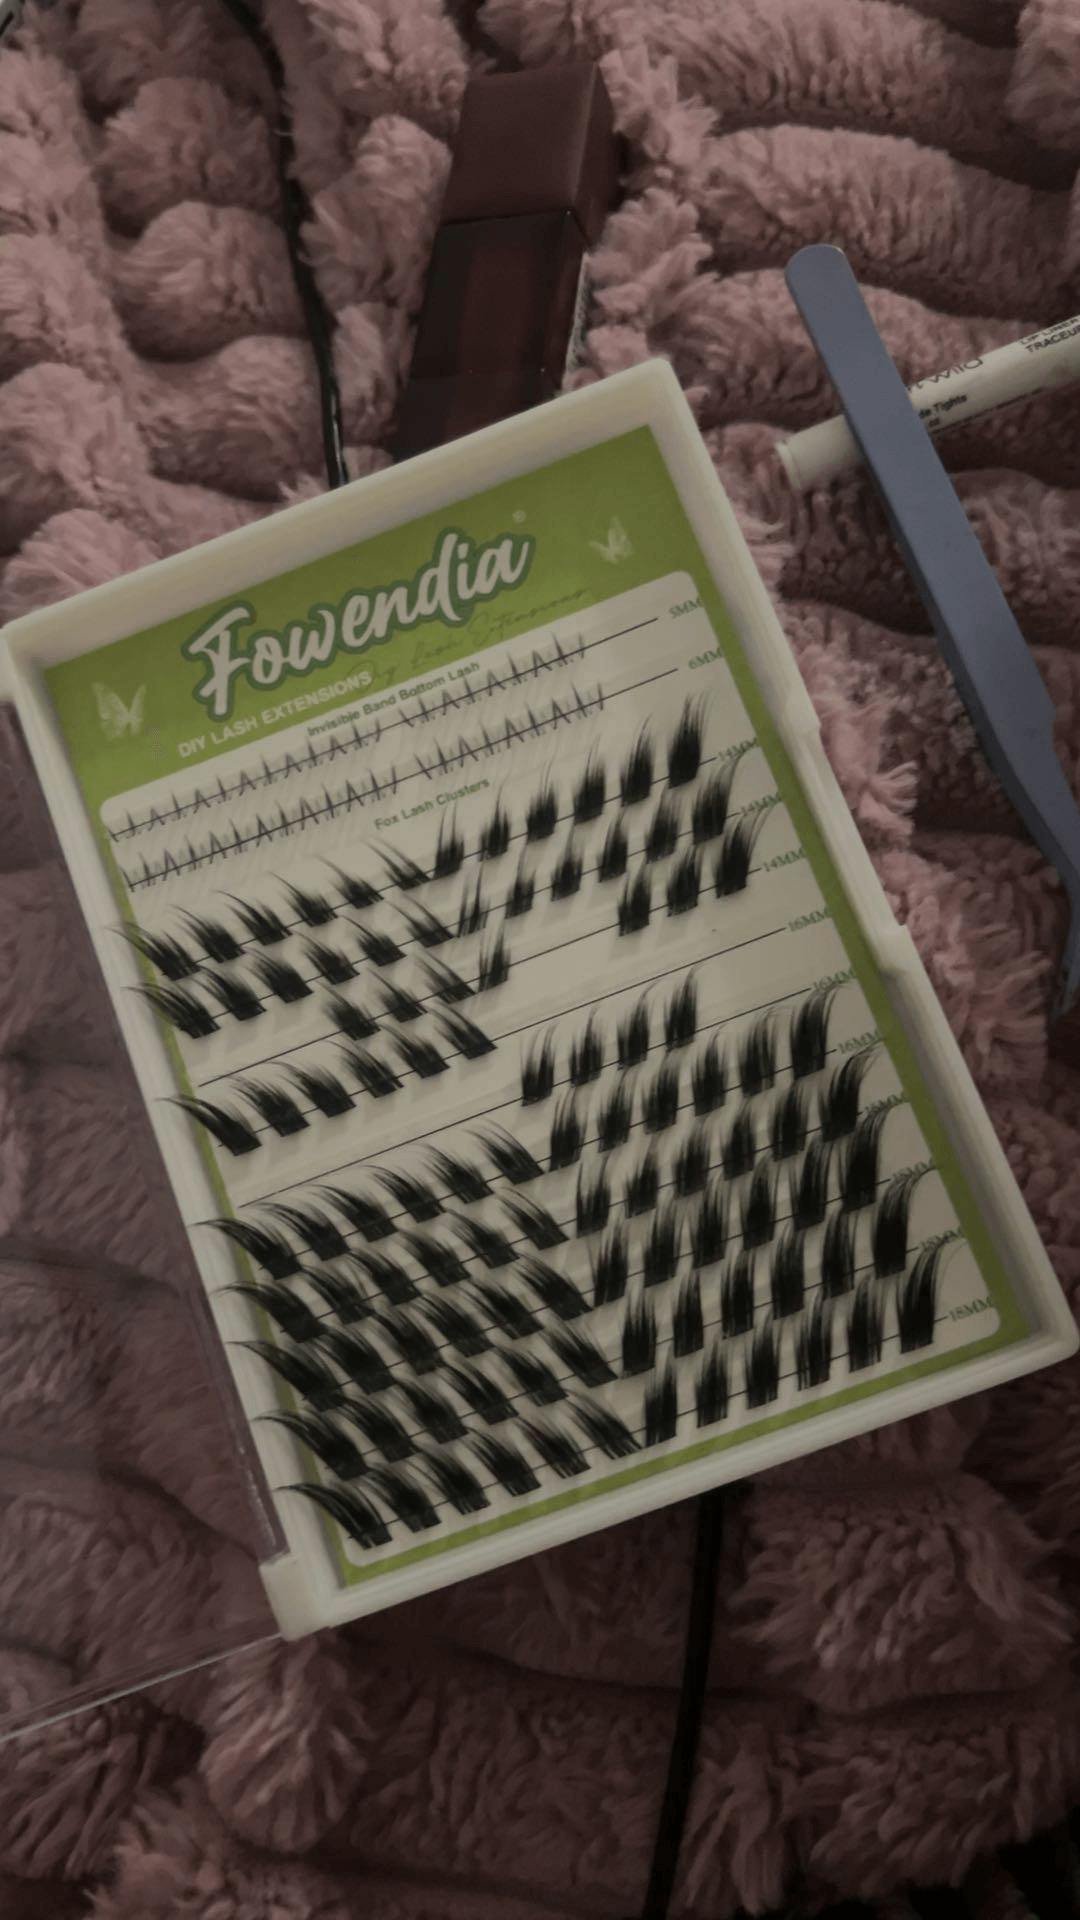
Estas pestañas postizas, confeccionadas con una banda transparente, se combinan a la perfección con tus pestañas naturales y garantizan un look impecable. Las pestañas postizas Fairy Foxy Style Cluster también ofrecen un increíble potencial de personalización. Con una variedad de longitudes y estilos, puedes crear fácilmente el look que deseas, ya sea que quieras un efecto llamativo y dramático o una mejora más sutil.
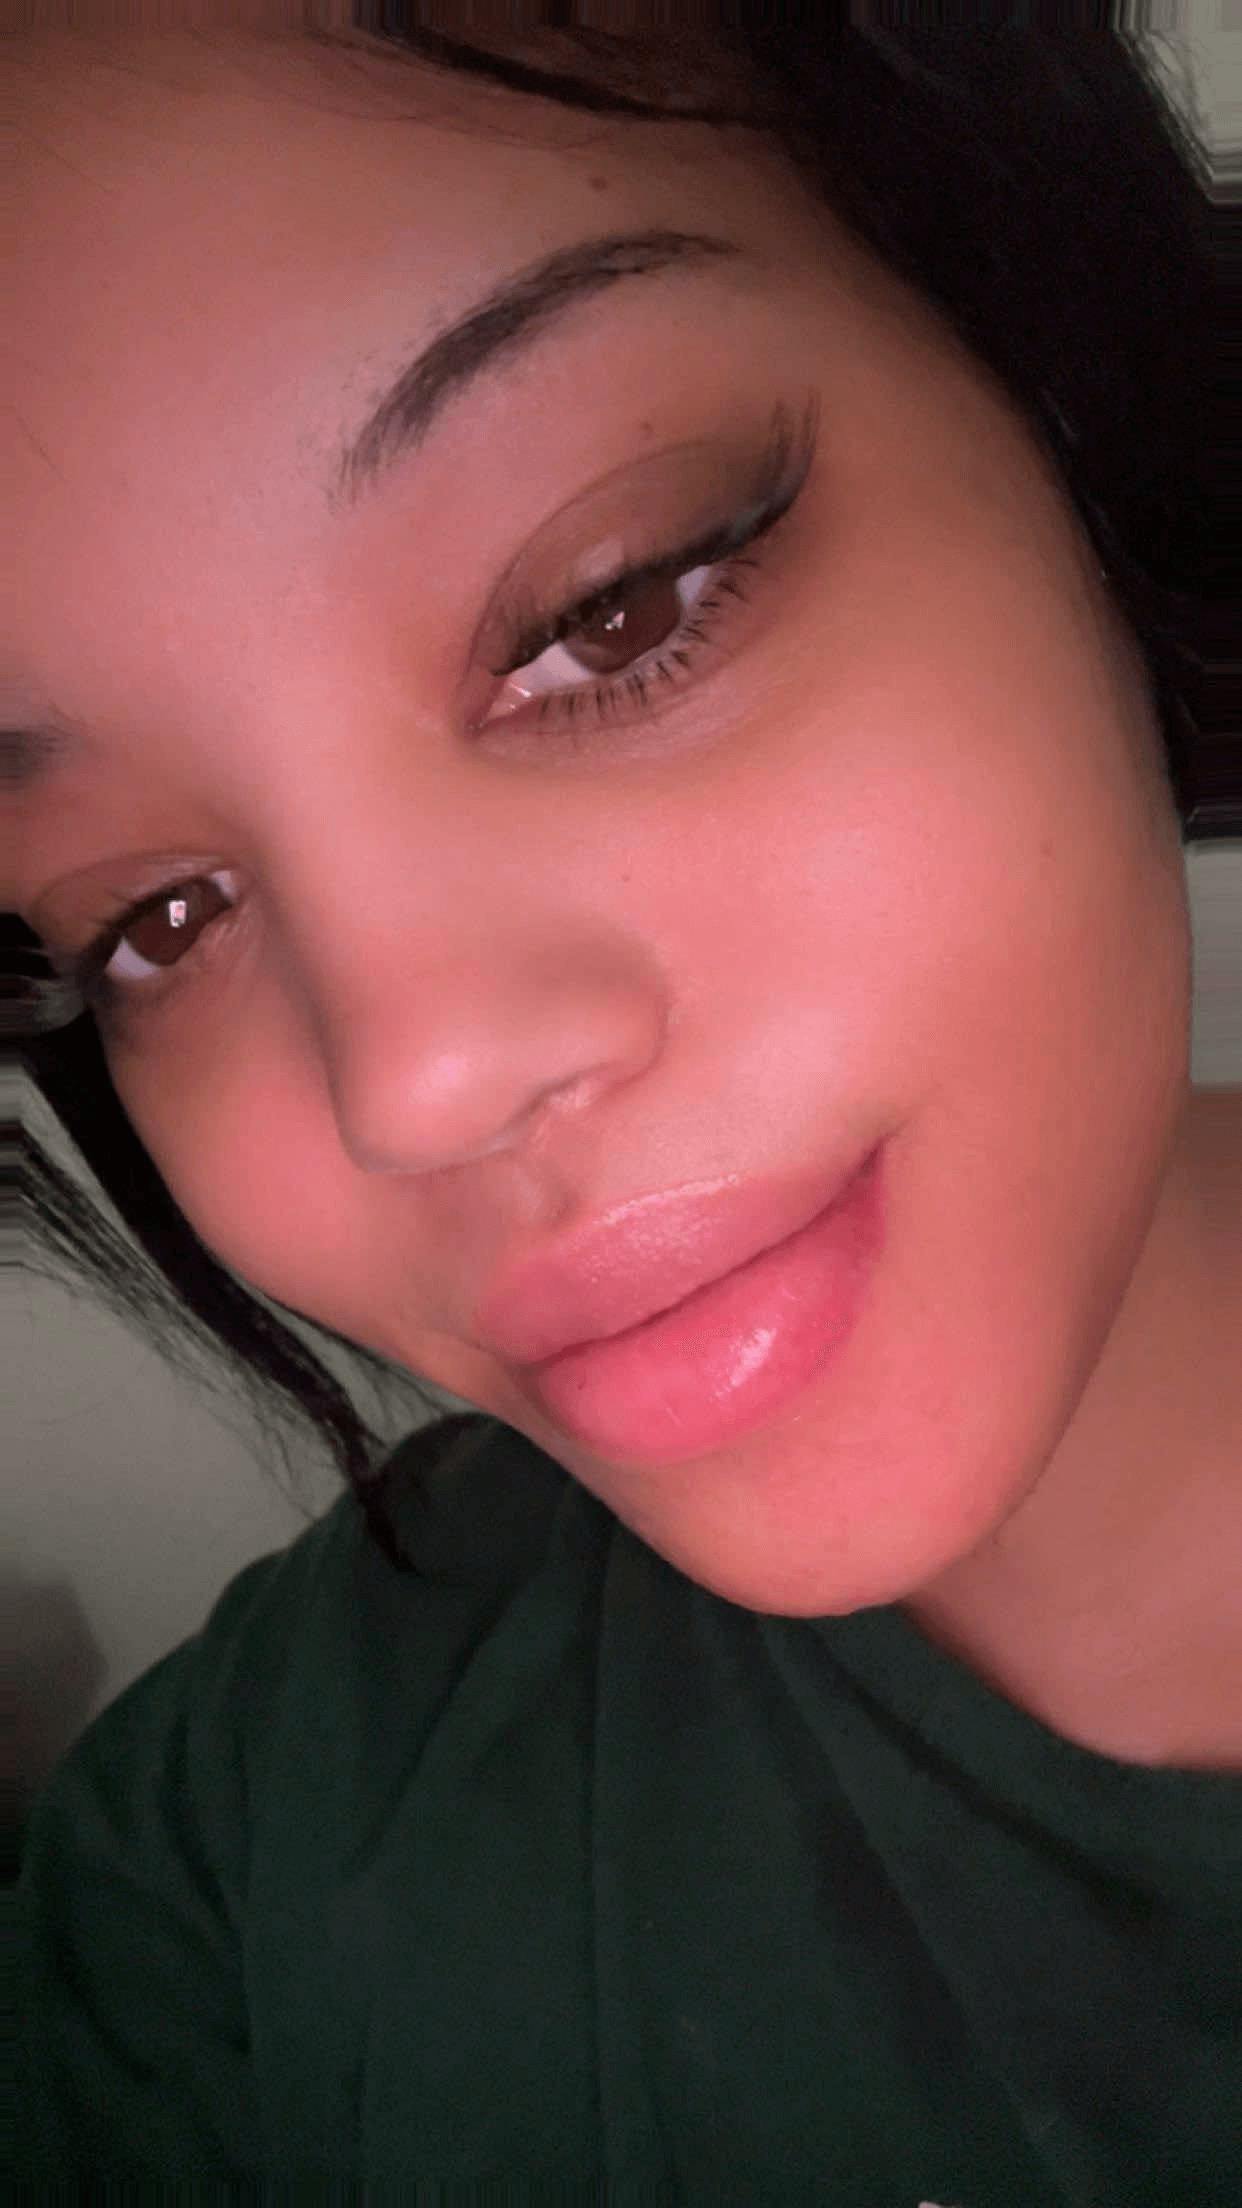
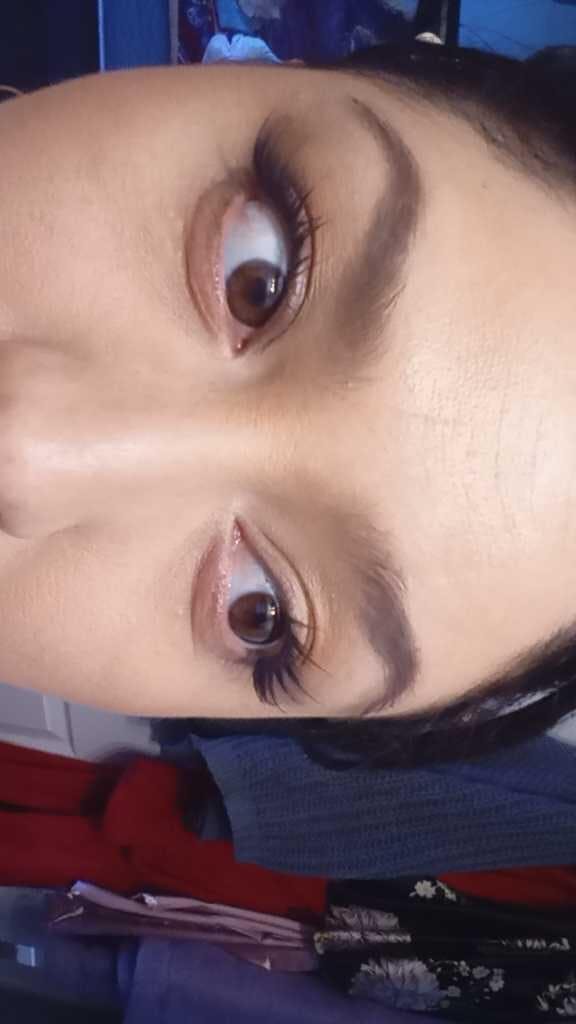
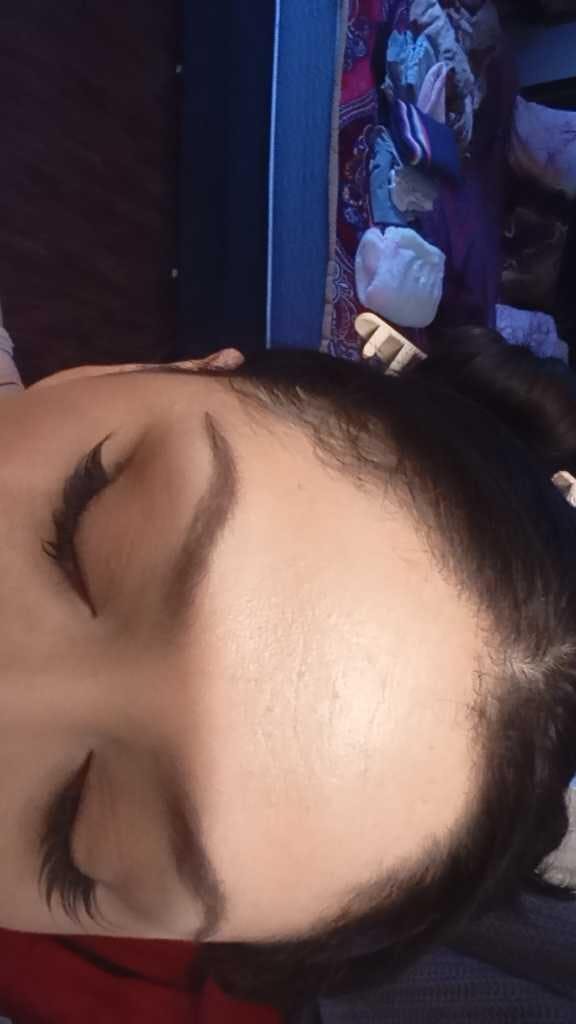
Very amazing quality!
Gorgeous style, a lil harder then most cluster's to put on because of the shape but so worth it , oh and they are so comfortable I can actually sleep in these if I have too, highly recommend! I Will buy again, I was surprised how good of quality 🤩
Thanks for subscribing!
This email has been registered!