Currency


- Choosing a selection results in a full page refresh.
⏱️ United States Limited Time Offer - FREE SHIPPING on all orders over $20 🌎 Worldwide Shipping
⏱️ United States Limited Time Offer - FREE SHIPPING on all orders over $20 🌎 Worldwide Shipping
⏱️ United States Limited Time Offer - FREE SHIPPING on all orders over $20 🌎 Worldwide Shipping
⏱️ United States Limited Time Offer - FREE SHIPPING on all orders over $20 🌎 Worldwide Shipping
⏱️ United States Limited Time Offer - FREE SHIPPING on all orders over $20 🌎 Worldwide Shipping
⏱️ United States Limited Time Offer - FREE SHIPPING on all orders over $20 🌎 Worldwide Shipping
⏱️ United States Limited Time Offer - FREE SHIPPING on all orders over $20 🌎 Worldwide Shipping
⏱️ United States Limited Time Offer - FREE SHIPPING on all orders over $20 🌎 Worldwide Shipping
⏱️ United States Limited Time Offer - FREE SHIPPING on all orders over $20 🌎 Worldwide Shipping
⏱️ United States Limited Time Offer - FREE SHIPPING on all orders over $20 🌎 Worldwide Shipping
⏱️ United States Limited Time Offer - FREE SHIPPING on all orders over $20 🌎 Worldwide Shipping
⏱️ United States Limited Time Offer - FREE SHIPPING on all orders over $20 🌎 Worldwide Shipping
💖 10% OFF of Your First Order | Use code: HELLOFOWENDIA
Free standard shipping on orders over $20
This term indicates that from the time a customer places an order, the product will be shipped within 3 to 10 business days. Business days typically refer to Monday through Friday, excluding holidays and weekends. We are committed to processing orders within this timeframe to ensure that customers receive their products as quickly as possible. Please note that the exact shipping time may be affected by factors such as order volume, product type, and other considerations. We recommend that customers keep this timeframe in mind when placing their orders. If you have any questions or need further information, please feel free to contact our customer service team.
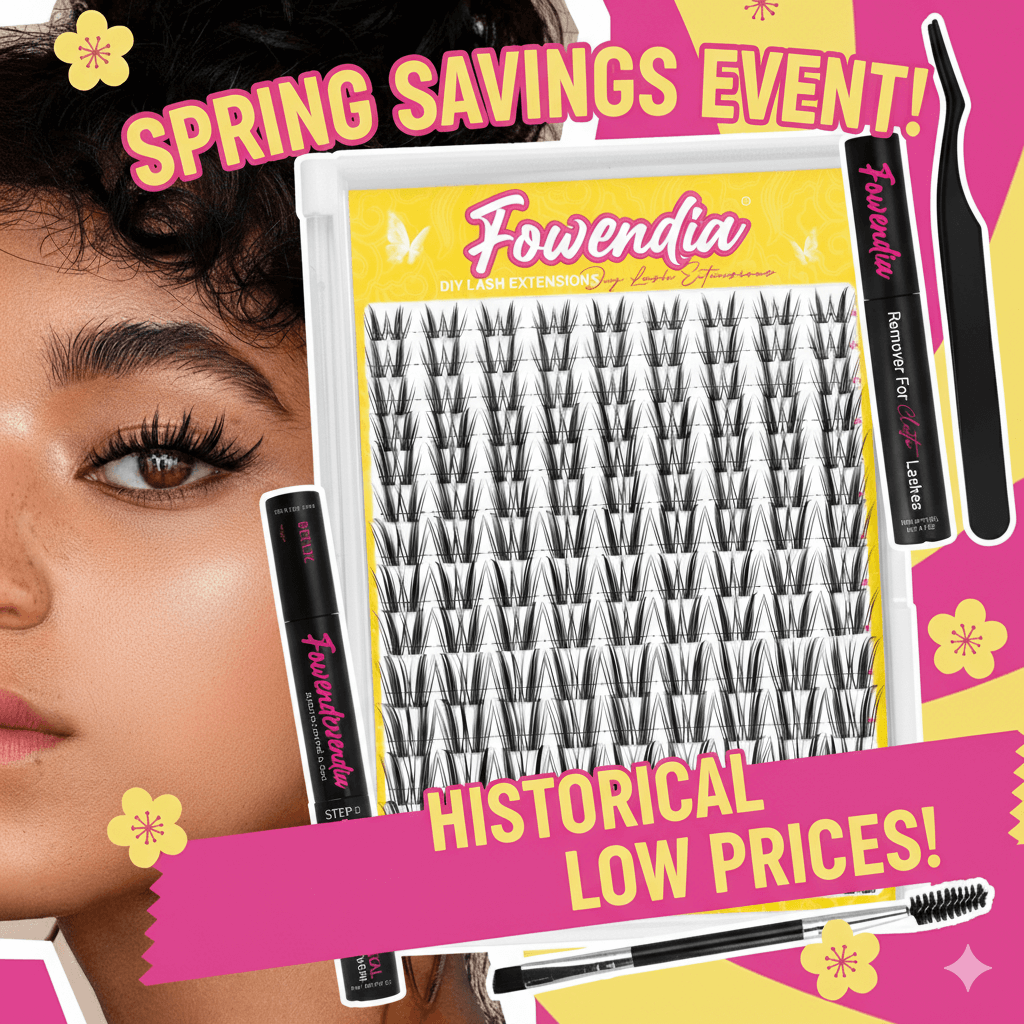
Elevate your eye makeup with an air of mysterious charm using Fowendia's Cat Ear Style Cluster Lashes - the perfect solution for creating a look of playful elegance that turns heads. Meticulously handcrafted, these lashes are designed with a unique, wispy gradient that mimics the sleek silhouette of a cat's ear, delivering an instant aura of mischievous elegance and wide-awake allure in minutes.
Whether you're a makeup beginner or a seasoned artist, our lightweight, reusable clusters feature a thoughtful design that builds volume towards the outer corners, ensuring easy application and all-day comfort. Perfect for themed parties, daily wear, or anytime you want to unleash your inner charm with an effortlessly chic vibe.
Thanks for subscribing!
This email has been registered!